How to federate a catalogue
General Info
Federating a catalogue means enabling the possibility of retrieving a list of its services. A federation is an action available only for CATALOGUE_MANAGER type user. There are two ways of federating a catalogue.
Method 1
Go to the page Federated catalogues

and click the add new button
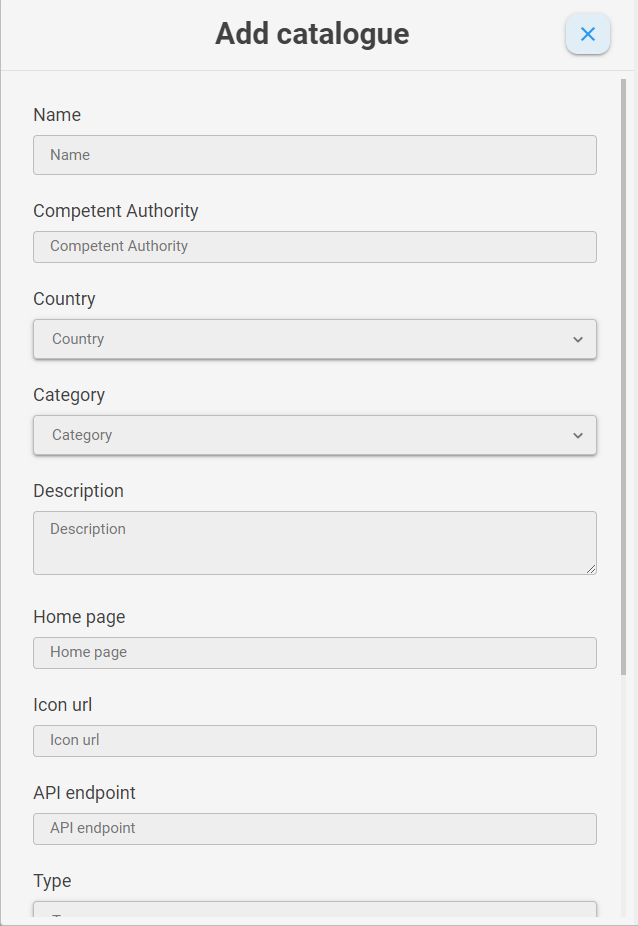
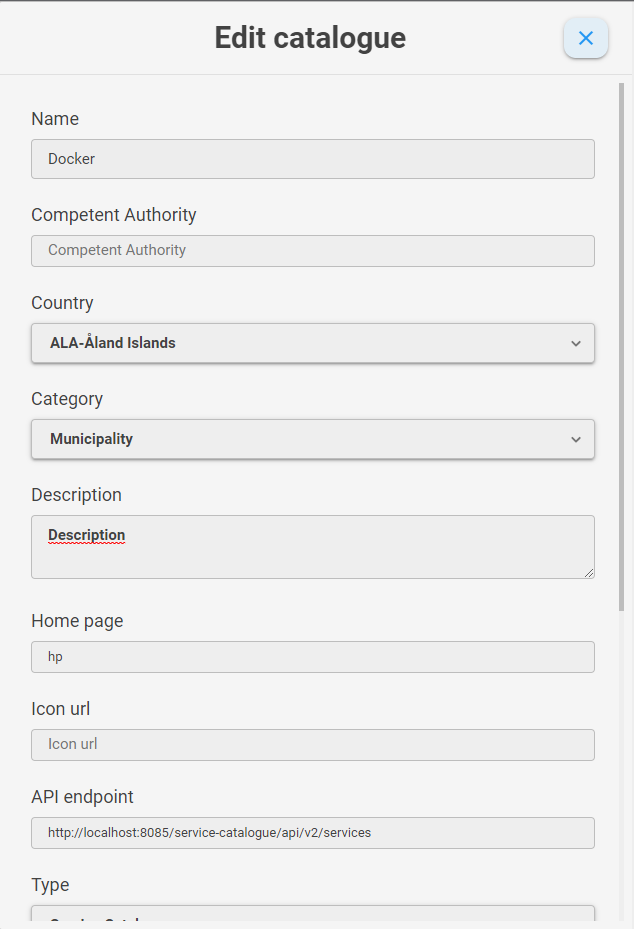
Fill the following fields:
-
Name. A name of the catalogue.
-
Competent authority. The competent authority related to the catalogue (e.g Regione Sicilia...)
-
Country. The country where the catalogue is located and related to.
-
Category. the category to which the catalog belongs. The allowed values are
Municipality,Province,Private Institution,Public BodyandRegion -
Description. A description of the catalogue.
-
Home page. The home page of the site of the catalogue (e.g http://example/service-catalogue).
-
Icon URL. The icon's URL address of the catalogue (e.g http://example/service-catalogue-manager/assets/favicon.ico) This icon will be shown in the federated catalogues table.
-
API endpoint. The base URL of the remote service catalog server, without the /api/v2/* path (e.g http://example.it/service-catalogue) if the type is
Service catalogue. ForJSONdatasets insert the full URL address. -
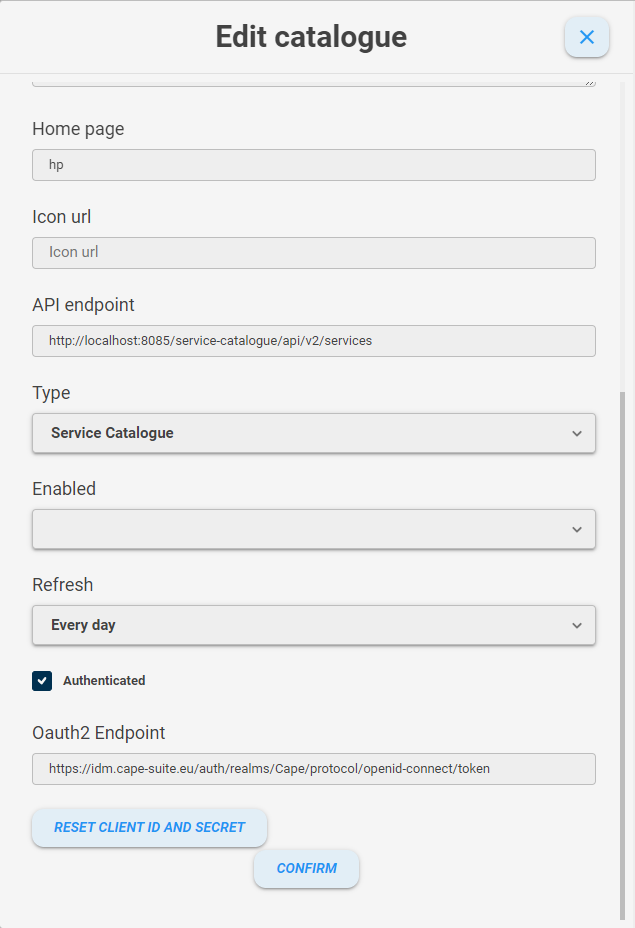
Type. The type of the catalogue. The allowed values are
Service catalogue(a remote service catalogue server) andNative(a remote services list). -
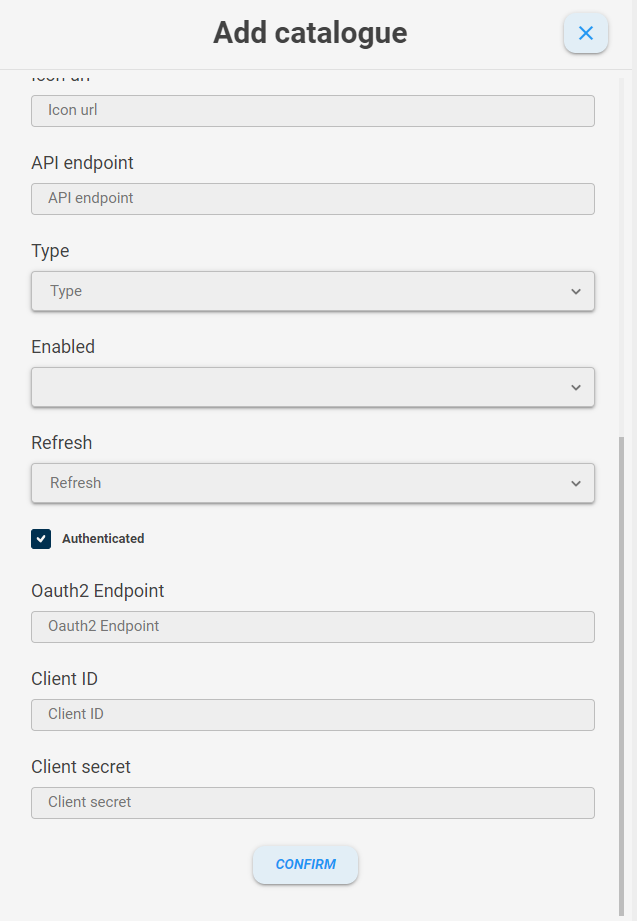
Enabled. If Enabled it will be shown in the list of remote catalogues in the Services table section. If Disabled it won't be shown in the list of remote catalogues in the Services table section. The allowed values are
EnabledandDisabled. -
Refresh. The refresh time of the catalogue. This is the interval after which the count of services of the remote catalogue will be updated. The allowed values are
Every day,Every weekandEvery month. -
Authenticated. This is a checkbox. If checked, the authentication fields will be shown (
oAuth2 endpoint,Client IDandClient secret). Check this checkbox if the remote catalogue needs authentication params. -
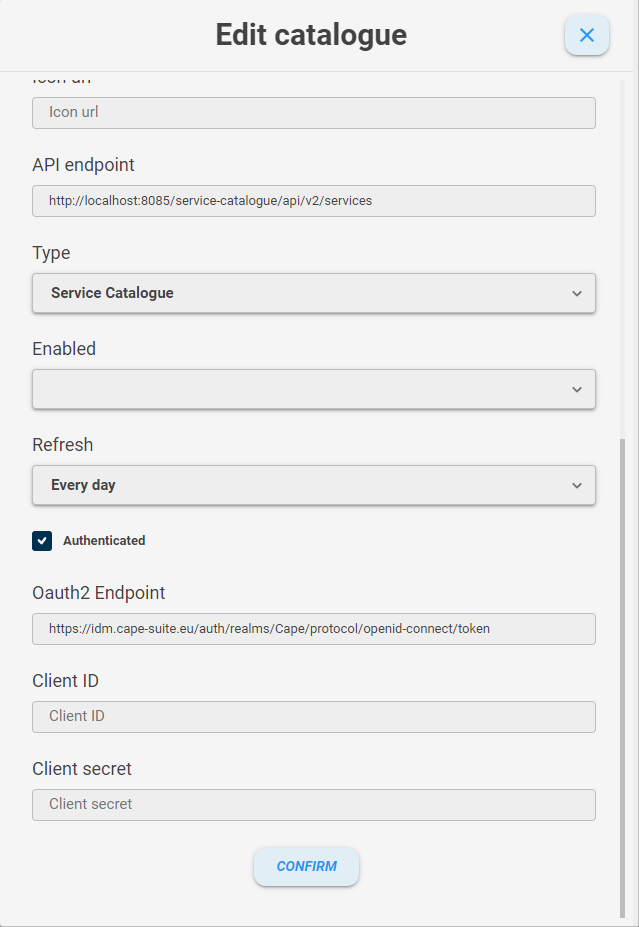
oAuth2 endpoint. The address URL used for oAuth2 authentication in the remote Service catalogue. This can be retrieved in the identity manager' page of the remote service catalogue (e.g. Keycloak page).
-
Client ID. A client ID is an authentication param required for oAuth2 authentication method. It can be retrieved in the identity manager' page of the remote service catalogue (e.g. Keycloak page).
-
Client secret. A client secret is an authentication param required for oAuth2 authentication method. It can be retrieved in the identity manager' page of the remote service catalogue (e.g. Keycloak page).
Then click the confirm button and a toast (notification) will be shown if the inserting catalogue process went fine, instead you'll see an error dialog.
Method 2
A second way to federate a catalogue is selecting it from a remote catalogues list. If you do not have one, do the following steps.
Go to the page configurations and click the add new button.
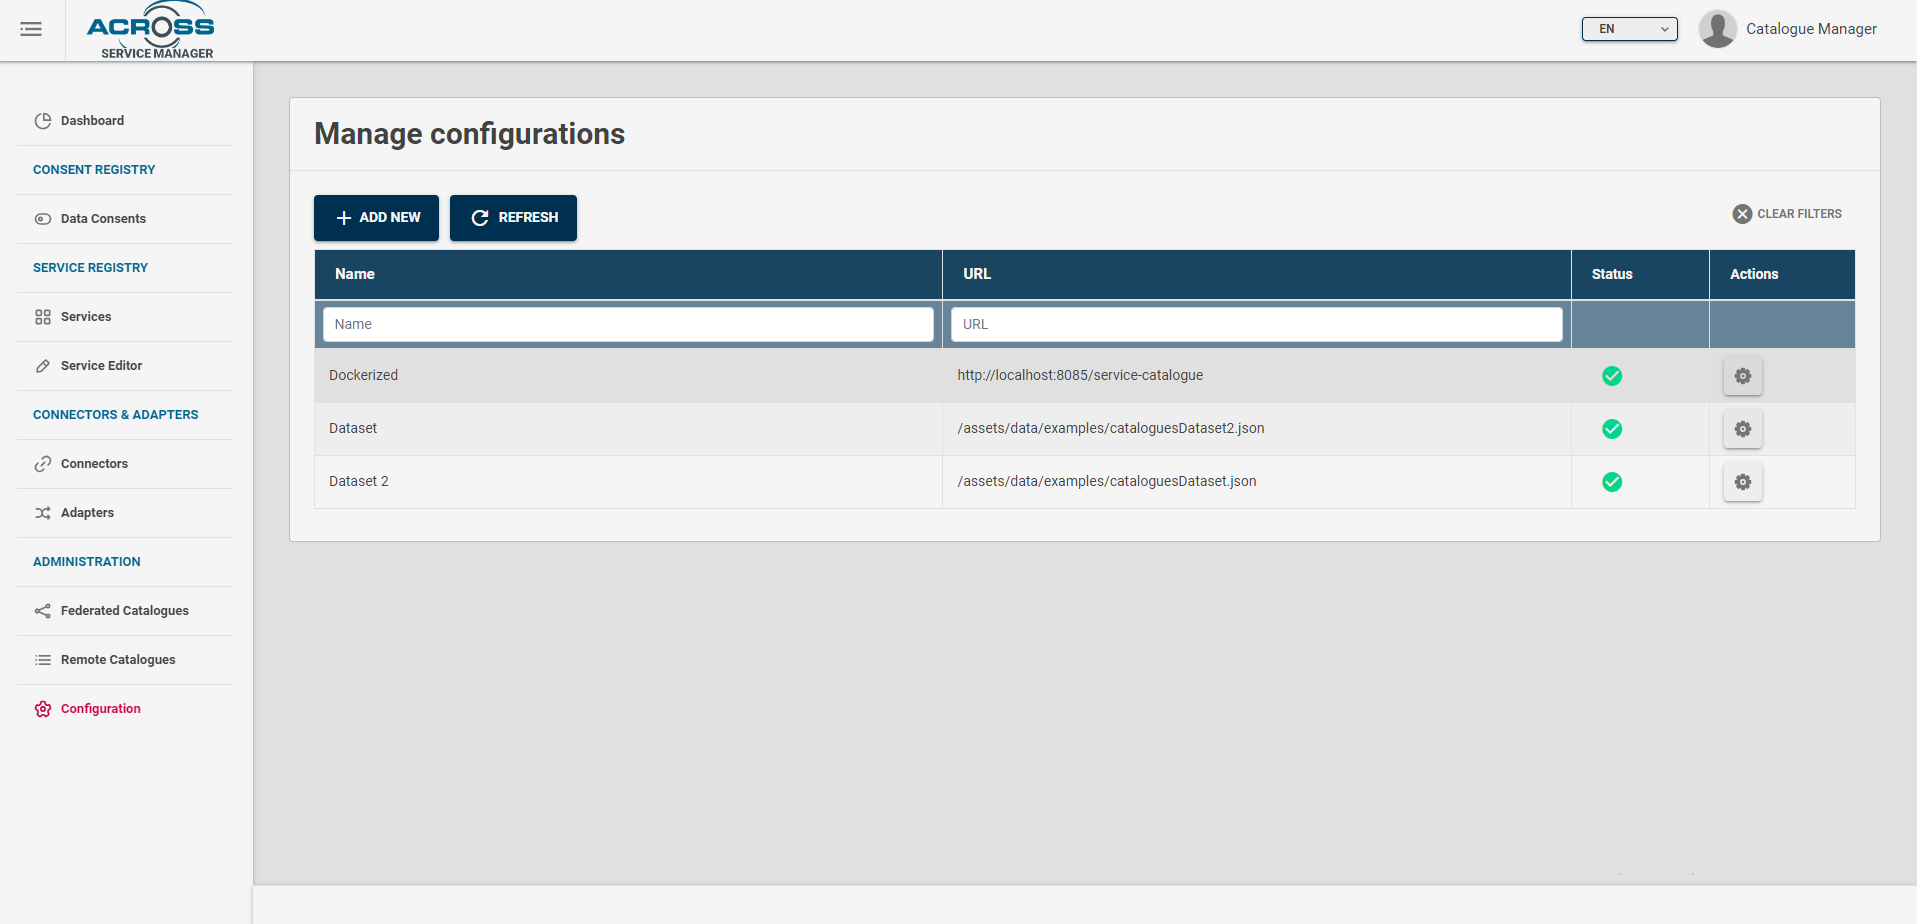
This will show a form where you can set the properties of a remote catalogue dataset, that is a remote source where you can retrieve a list of catalogues.

Fill the following fields:
-
Name. A name of the dataset.
-
Type. The type of the dataset. The allowed values are
Service catalogue(a remote service catalogue server) andJSON(a remote catalogues list in JSON format). -
URL. The base URL of the remote service catalog server, without the /api/v2/* path (e.g http://example.it/service-catalogue) if the type is
Service catalogue. ForJSONdatasets insert the full URL address.
A remote JSON catalogue dataset should be like the ones in assets/data/examples.
Here's an example of dataset :
[
  {
    "catalogueID": "1684141909640228968120458785.22B_json",
    "name": "Catalogue A",
    "competentAuthority": "Municipality",
    "country": "DEU-Germany",
    "category": "Municipality",
    "description": "Description",
    "homePage": "http://www.example.com",
    "apiEndpoint": "http://localhost:8085/service-catalogue",
    "type": "Service Catalogue",
    "active": true,
    "refresh": 86400000,
    "authenticated": true,
    "services": 31,
    "iconURL" : "https://angular.io/assets/images/logos/angular/angular.png",
    "oAuth2Endpoint": "https://idm.cape-suite.eu/auth/realms/Cape/protocol/openid-connect/token"
  },
  {
    "catalogueID": "1684141909640228968120458785.22C_json",
    "name": "Catalogue B",
    "competentAuthority": "Municipality",
    "country": "GRC-Greece",
    "category": "Municipality",
    "description": "Description",
    "homePage": "http://www.example.com",
    "apiEndpoint": "http://localhost:8085/service-catalogue",
    "type": "Service Catalogue",
    "active": true,
    "refresh": 86400000,
    "authenticated": true,
    "services": 31,
    "oAuth2Endpoint": "https://idm.cape-suite.eu/auth/realms/Cape/protocol/openid-connect/token"
  }
]
Click the confirm button. If the remote catalogue is reachable, you'll be able to insert it and a notification will be shown, instead you'll see an error dialog.
Then go to the remote catalogues page

and select from the list the name you chose for the dataset.
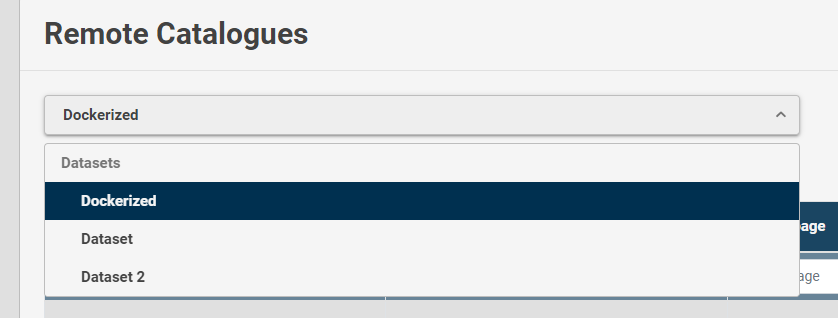
A catalogue list will appear in the table.
Check the (+) button and click it. If everything went okay, a notification alert will inform you that the catalogue was federated.
Finally, if the catalogue needs authentication params, go to the page Federated catalogues
Click the actions button and click edit. An edit form will appear and you'll have to check the authenticated check box. Click the "Reset client id and secret" button
and fill the Client ID and Client secret fields with authentication params as mentioned in Method 1.
Then click the confirm button and a toast (notification) will be shown if the editing catalogue process went fine, instead you'll see an error dialog.
*NOTES* Some fields are mandatory. An alert will inform you.
Watch the status of the datasets in the dataset table. If green, it's available. If red, there were errors retrieving remote catalogues list.
In the federated catalogues table, the status can be green (available for queries and providing you its services list), yellow (not available for queries and providing you its services list) or red (not reachable).
If you have to change the Client ID and Client secret secret, you have to click the Reset client ID and secret button in edit mode.